|
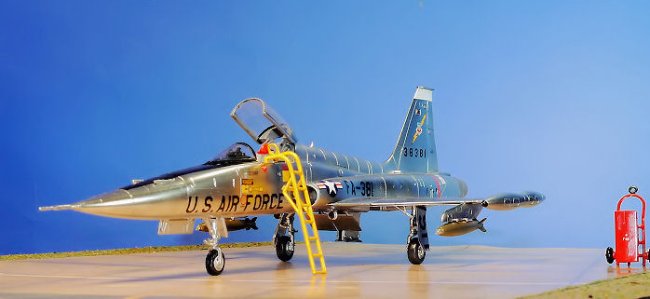
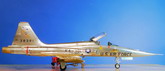
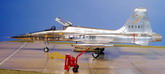
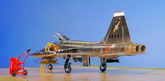
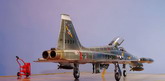
For your viewing pleasure, here are some photos of my 1/48 scale Kinetic F-5A Freedom Fighter. Designed in the 1950s, and built by Northrop, the F-5A/B Freedom Fighter and the F-5E/F Tiger II are part of a family of widely used light supersonic fighter aircraft. The F-5 was less complex than some contemporary aircraft such as the F-4 Phantom, and it was much cheaper to buy and operate, thus the F-5 became a popular aircraft on the export market.
The F-5A first flew in 1959 and entered service in the 1960s. It was perhaps the most effective air-to-air fighter the U.S. had in the 1960s and early 1970s. Strengths included the aircraft's compact size, a high level of maneuverability, favorable flying qualities and a low accident rate. It also had a high sortie generation rate. Standard armament includes 2 M39 20 mm cannons, with additional pods or missiles of up to 62,000lbs on 5 hardpoints and 2 wing tips. During the Cold War, over 800 were produced through 1972 for U.S. allies. While the USAF had no acknowledged need for a light fighter, it procured roughly 1,200 trainer aircraft of an F-5 derivative. The USAF, the Marine Corp, and the U.S. Navy have all used the F-5 as an aggressor aircraft to teach pilots air-to-air combat.
|
Click on
images below to see larger images
|
|
|
Construction
The first thing to note when you start building this kit is that the instruction guide is a whopping 34 pages, much of which is for the 16 marking options. To begin construction you must decide which version of the F-5A you wish to build. I choose to build the F-5A version. Note also that the kit is designed in a modular fashion with various inserts to support the differences in F-5As built for some countries. I found that when building the modules, the parts fit was pretty good. However, when connecting the modules together, the parts fit was not so good. A good deal of sanding and gap filling was required.
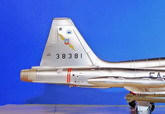
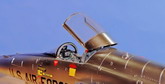
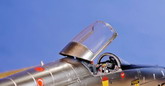
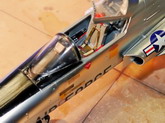
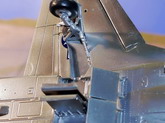
Take notice that when building the cockpit, the canopy mechanism is molded in the open position. If you want it closed, pieces need to be cut away. Additionally, there are no decals for the instrument panels, just raised detail. But, with careful painting you can have a cockpit that looks fairly real. The ejection seat came without seat belts, so I added some PE seat belts. I also added a lead weight to the nose cone. Late in the construction I noticed that the tail was warped. I don't know if it came that way or if I caused it when installing the rudder.
Following the illustrated construction guide, the kit goes together without too many hassles. I did a lot of test fitting, filling and sanding to obtain a good looking model.

Painting
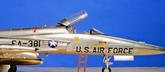
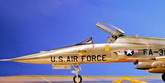
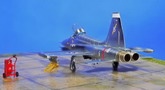
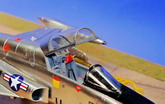
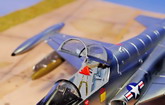
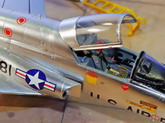
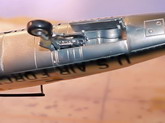
My model here depicts USAF F-5A 63-8381 before its delivery to Greece. For the most part this aircraft had a bare metal finish. Once the model was built I primed it with a coat of Model Masters Gloss Black and let it dry and cure for 48 hours. I airbrushed the engine area and the exhaust nozzles with Alclad Pale Burnt Metal. To achieve a shiny bare metal finish I airbrushed the rest of the model with Alclad II Polished Aluminum. I followed the recommended airbrushing method, 12 to 15 PSI air pressure and kept the airbrush close to the model surface while painting. The result was a very nice shiny bare metal finish.
Decals
The kit decal sheets provide markings for 16 different aircraft. I choose to use the decals for USAF aircraft 63-8381 which are superb. They behaved well, settling nicely onto two coats of Future. I used a few touches of Solvaset on each decal to ensure the decal snuggled down to the model surface.
Comments
To sum up, this was a very enjoyable kit to build. Kinetic has done a nice job with this kit. It is reasonably well detailed out of the box, has some fit problems, but the finished model is a good looking model.
Burt Gustafson
|
Click on
images below to see larger images
|
|
|
|
|
|