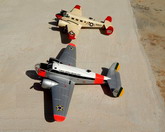
Beech AT-11 Kansan
History
The United States forces used purchase-built impressed model 18s as light transports under the overall designation C-45 (1,401 USAAF aircraft) and JRB (377 US Navy aircraft). The same basic airframe was used in considerably larger numbers as a trainer.
The USAAF’s first such version was the AT-7 navigation trainer with positions for their pupils, there were 577 AT-7As with 450hp R-985-25 radials, six AT-7A floatplanes, nine winterised AT-7Bs and 549 AT-7Cs with R-985-AN-3 engines.
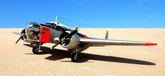
The AT-11 was a bombing and gunnery trainer with R-985-AN-1 engines, a dorsal gun position and a revised nose with bomb aimer and gunner’s position. Production from 1941 totalled 1,582. The US Navy procured 1,364 aircraft of basically similar types, the 320 SNB-1s equivalent to the AT-11s. The 509 SNB-2s being basically similar to the AT-7 while 376 SNB-2C being modelled on the AT-7c.
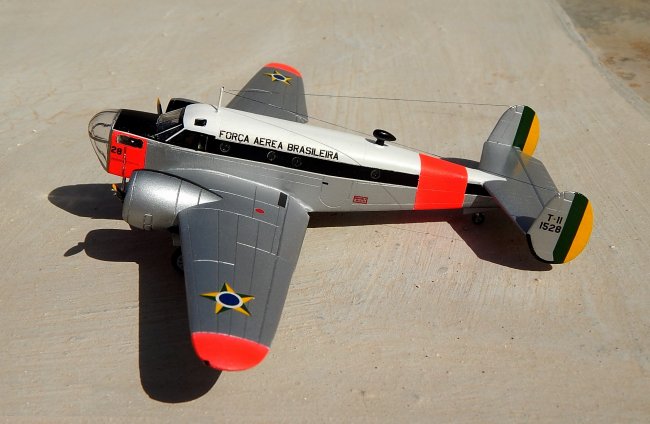
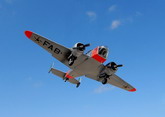
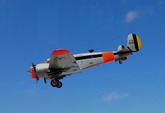
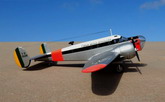
The Beech AT-11 Kansan six/seven-seat bombing and gunnery trainer had a maximum speed of 215mph at sea level and an operational range of 850 miles. The AT-11 was supplied to many countries in Europe and South America, which included the air forces of Turkey and Brazil.
|
Click on
images below to see larger images
|
|
|
The kit: Beech AT-11 Kansan 40201-0389
Make: Matchbox/Revell
Type: Injection molded with one decal option.
Cost: 7 Euro
The Matchbox kit of the Kansan has the definite hallmarks of a similar injected kit released by Pioneer 2 of some 24 years ago. The kit also has close resemblance to the C-45 released by same brand. A basic mold appears to be adapted to a type used for navigation, bombing trainer. The kit could have also been adopted for gunnery trainer if a gun turret is applied to the upper fuselage.
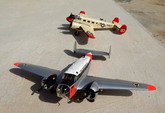
The principal difference from the C45 was the large glazed nose and the round windows rather than the rectangular ones. The fit of parts was reasonable with heavy engraved panel line detail and clean mold parts.
Overall the kit is acceptable in spite of its few short falls such as lack of engine exhaust pipes, missing rectangular cabin roof window and the detail is confined to a floor, two bulkheads, 2 seats, and two control column. Behind the big glass nose there is nothing to display, which should at least have a bombsight and some side console instruments.
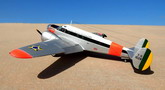
A quick reference to pictures of the aircraft one can easily add detail to this area. One important noticeable feature is that the kit engines should go parallel to the fuselage and should therefore have no inclination to the fuselage. This means that the wings had to be declined by some 6 degrees to rectify the engine arrangement. Once you spot this fault it was not difficult to make the necessary adjustment.
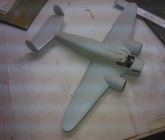
Construction
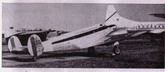
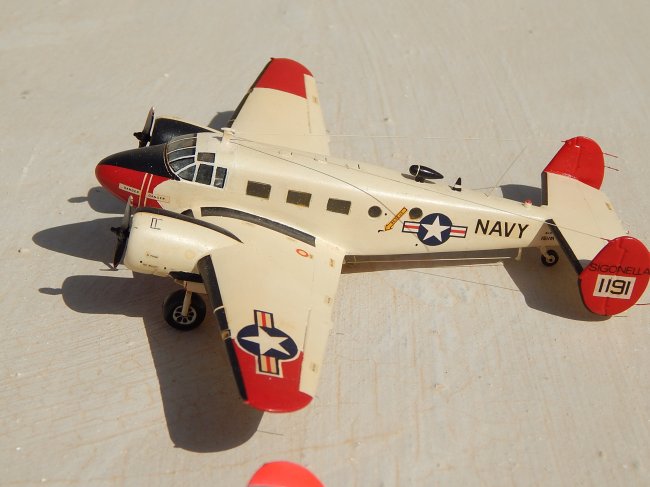
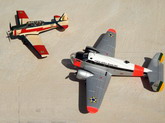
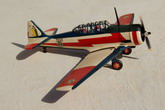
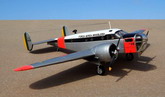
The excellent box art illustration was a good source of reference to show details of the aircraft as operated by the Brazilian AF for which decals are issued. Coincidentally I came across a photo of the very same Kansan in an old issue of Air Pictorial with a difference that at the time the picture was taken the aircraft carried high visibility day glow areas and in my opinion this made the kit alive.
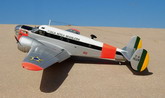
The following is the extra work done to the kit: Flaps were parted from the upper and lower wing parts, the upper wing flap retained while the lower wing flap part was replaced with a much thinner part from plastic card which was then glued to the upper wing flap. When wings were assembled the flaps were then glued at a lowered angle.
Exhaust pipes were shaped out of stretch sprue and the end made hollow using a hand drill. The engine flaps were refreshed as these were very lightly scribed. The aft tail wheel doors were replaced with ones made from thin plastic.
Two rectangular windows were marked, drilled and shaped with a fine rectangular file. Other extra works involved adding two aerials and wireless and added two wing tip lights. The main wheel well doors were also engraved for detail. The rest of assembly followed the kit instructions.