|
The Aerospatiale SA
366G1 Dauphin II served in the IDF/Navy from 1985 to 1997. Based on the US
Coast Guard HH-65A, the IDF Dauphin II was stationed aboard Sa'ar
class ships and was used for security and maritime reconnaissance roles. Though
the Dauphin was attached to the Navy, maintenance and airborne
responsibility fell to the IDF/AF. After the crash of Dauphin 905, plus a
series of other technical issues that plagued the rest of the fleet, the
Dauphin was withdrawn from service and replaced by the much improved Aerospatiale
SA 565 Panther (Atalef).
This is my entry
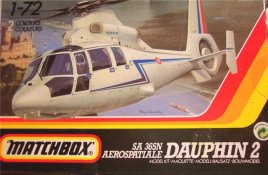
into the ARC Matchbox Madness Group Build, a 1/72 Matchbox SA 365
Dauphin II (PK-38). The kit contains 66 parts molded on three
sprues (two gray and one clear). Decals are for a French Armee de l'Air Dauphin
and a McAlpine Helicopters Ltd machine. As is usual with most Matchbox kits,
detail is simplistic and minimal. One niggle in regards to building a USCG
HH-65A or an IDF Dauphin from this kit. It isn't quite correct as they are
based on the SA 366G1, which has a different engine, larger doghouse,
and bigger fenestron tail while the kit is based on a standard SA
365N. These issues weren't addressed on this build (adding a hoist and antennas
were the extent of the mods done to this model).
| The cockpit was
built completely OOB and painted black, while the cargo area is Light
Ghost Gray. The dials and switches on the instrument panel and center
console were drybrushed with white, while some red and yellow was
added for visual interest. |
Click on
image below to see larger image
|

|
|
After finishing the cockpit, I
assembled the fuselage. The fuselage is broken down into two lower
halves, separate left and right engine cover halves, an overhead panel, and
11(!) clear parts. One way to avoid having fit issues is to glue the engine
cover halves to their respective fuselage halves. The port side cargo door
window was glued into place then fared into the door (this window was deleted on
the HH-65A/IDF Dauphin).The most frustrating aspect of this build came next; the
overhead panel and all the transparent panels. The majority of the forward
fuselage is comprised of clear parts, which required major care when
assembling. The windscreen was fitted first, then all the
right-side windows added. The left side windows would not line up
properly nor fit between the lower fuselage and overhead panel. So, I
removed the right side windows and windscreen, then proceeded to start
over. The left-side windows were fitted first, followed by the
right-side, and then the windscreen (all the clear parts were assembled
with odorless CA glue).
|
Click on
images below to see larger images
|
 |
|
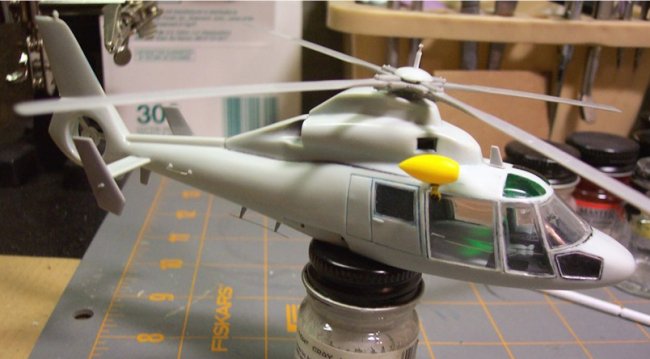
All the gaps in
the clear part assemblies were filled in with odorless CA glue and
white Squadron putty. The horizontal and vertical stabilizers were added next
(which I broke off several times in the course of building this kit). The
overhead panels were tinted with Tamiya Clear Green, then glued into place. They
also required a fair amount of sanding in order to get a flush fit. The chin
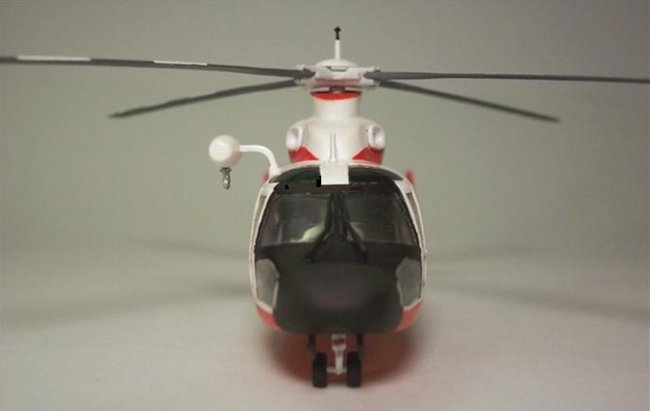
bubbles were added, which completed the fuselage assembly. The last items to
tackle before priming/painting was the hoist, mount, and various antennas. The
hoist came from a RevellAG Agusta-Bell 412 KLu kit, while the mount is made from
Plasti-Struct rectangular stock. The antennas are either scratchbuilt or
sourced from other kits.
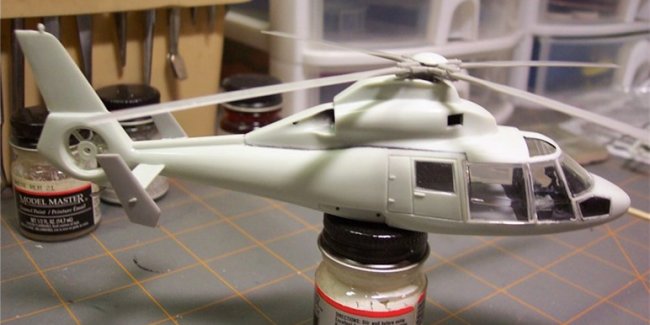
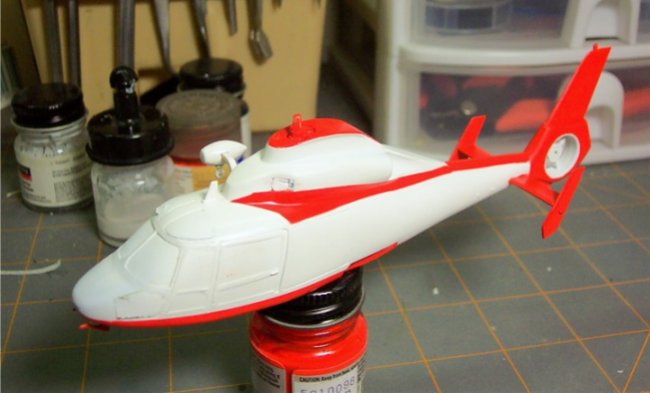
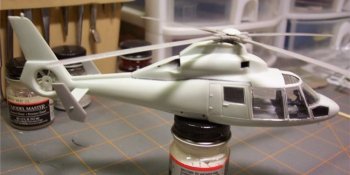
Next came the primer. All
the windows were masked with Bare-Metal Foil, and then several
coats of Floquil Reefer White were applied and allowed to dry. The main
and tail rotor parts along with the landing gear components
were painted at this time as well. After a few days, I wet-sanded the primer
and gave one final check for building flaws. Once happy with the primer
stage I began to apply several coats of Tamiya Pure White lacquer spray
paint (decanted from the can and applied through my Aztek A470). Again it
was given a few days to set before wet-sanding the fuselage and
laying out the borders for the red areas. The tape I like to use for complex
paint schemes such as this is 3M Automotive Pin-Striping Tape. It adheres
well with very little, if any bleed through, and is flexible which is a
good thing when dealing with curves and such. For the more complex
curves (such the red area on the lower fuselage), masking tape templates
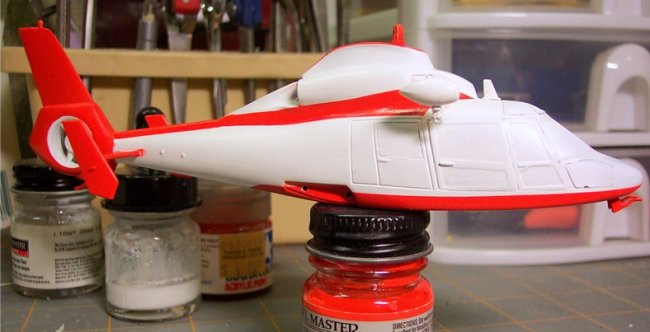
were used. The color listed for the red/orange areas is FS12197
International Orange. Model Master has this color in their MM II range of
military colors, but IMHO, it is too orange for what was used on the
Dauphin. The color that I felt best represented the reddish-orange
paint is Model Master Chevrolet Engine Red. All the white areas
were masked, followed by a few thin coats of MM Chevy Engine Red. Everything
was given ample time to dry before removing the masks. As with the primer
coat, the color coats were wet-sanded to insure a smooth, shiny surface for
decaling (and to also level out any ridges at the red/white demarcation
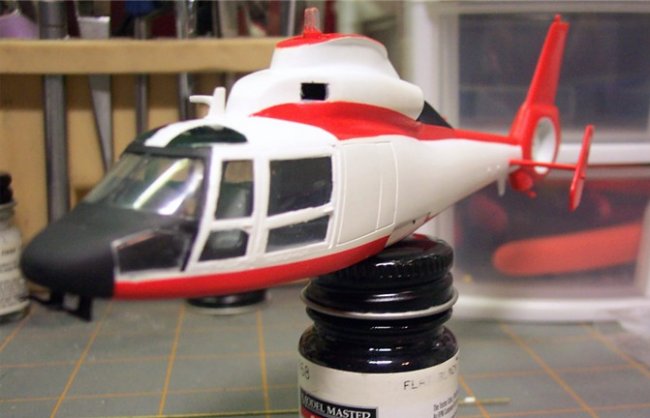
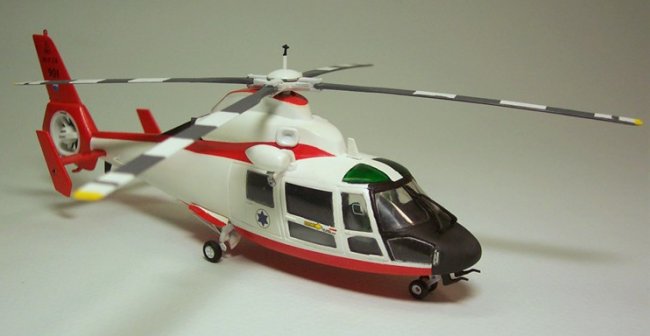
lines). Everything behind the radome and windscreen was re-masked and those
two areas painted flat black. The radome received a few coats of Acryl Clear
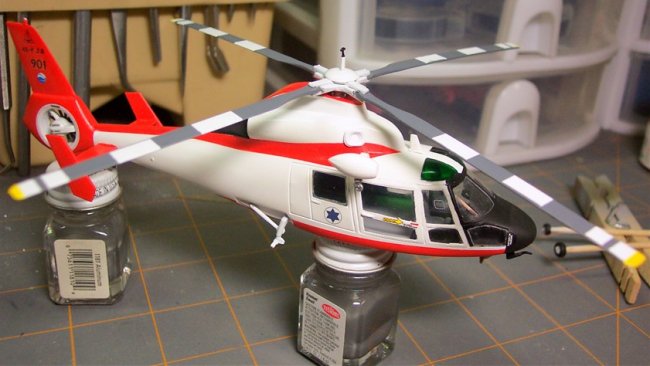
Flat to give it some differentiation from the windscreen/nose area. The main
rotor blades were masked and then painted in alternating gray/white hi-viz
bands (the bottom of the blades were painted with Humbrol Hu125). With the
paint work done, it was time to decal.
|
Click on
images below to see larger images
|
 |
 |
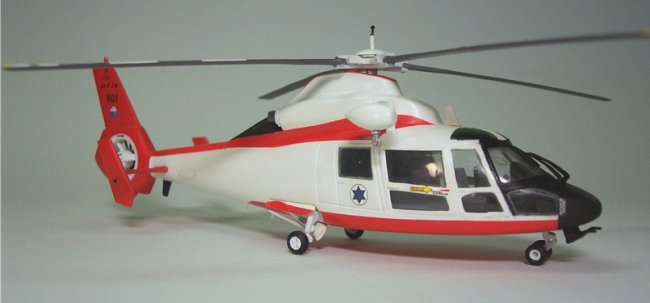
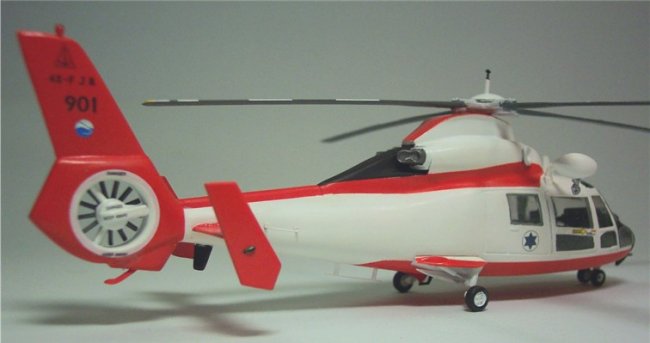
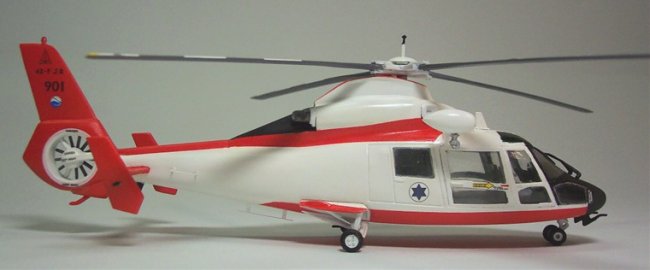
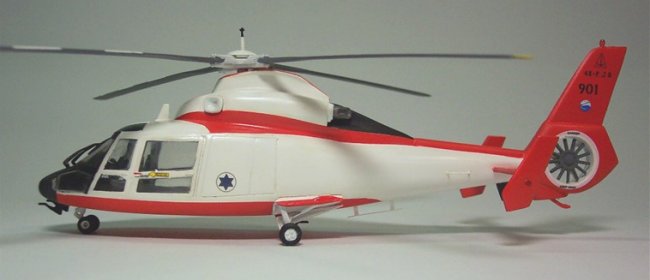
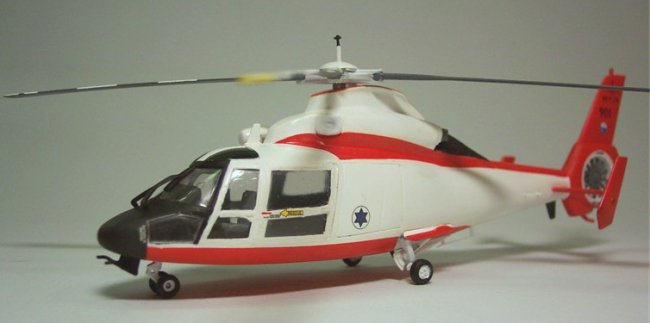
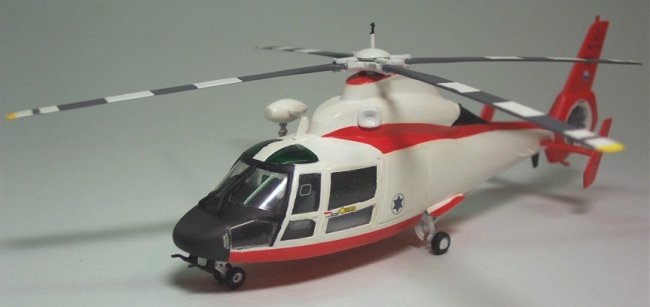
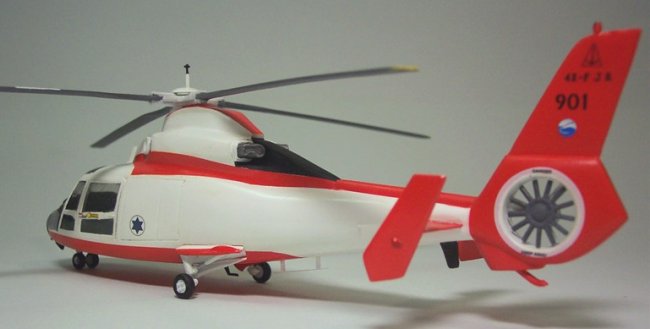
The decals are from Isradecal's
1/72 IAF Helicopters Set (IAF-11). My model depicts #901 of the Naval
Helicopters Squadron, circa late 1980s. The white rings around the opening of
the tail rotor came from a RevellAG USCG HH-65A decal sheet. The model was
cleaned up again and then waxed to give the finish a nice shine. All that was
left to do was add the landing gear, rotors, antennas, and paint the
navigation lights and other small details. With that done, the model was
finished. Despite the challenges that this kit presented in regards to the
clear parts fit and the complex paint scheme, it was an enjoyable build that
allowed me to participate in a cool group build, build something that I
otherwise wouldn't have, and add some color to my display case.
Albert
|
|