|
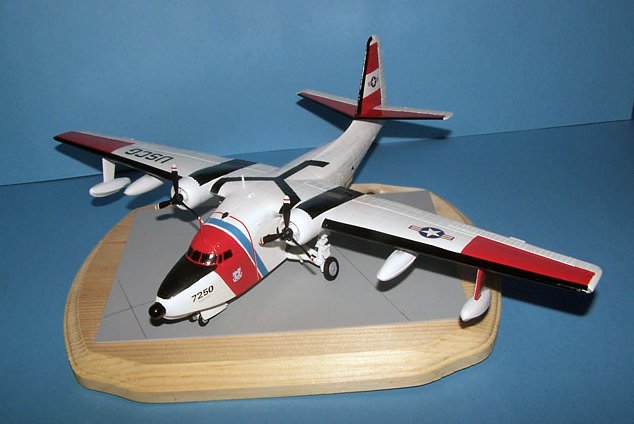
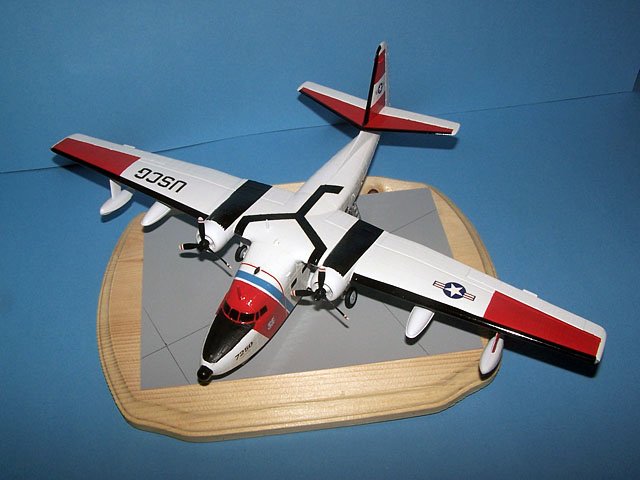
Here’s my 1/72
Monogram Albatross in Microscale USCG markings to be displayed at the USCG Air
Station Cape Cod. Thanks to Viperguy for the sale of the kit, Bob Perry for the
USCG decals, Efrain for the link to some decals on eBay and RotorheadTX for the
replacement decals. Without them, this kit would not have been finished.
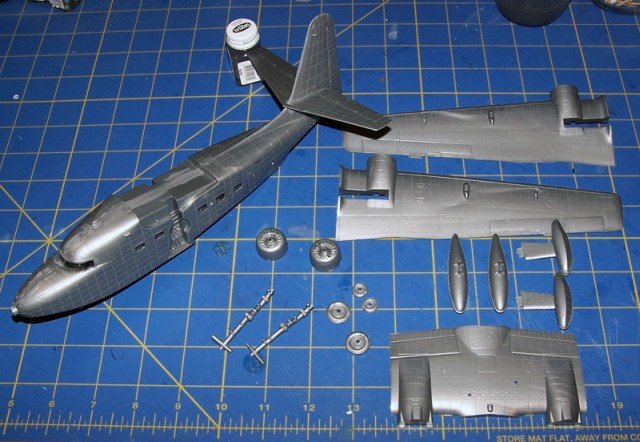
The assembly was
fairly straight forward and was surprised at how well most of it fit based on
the age of the molds and kit.
Click on
images below to see larger images
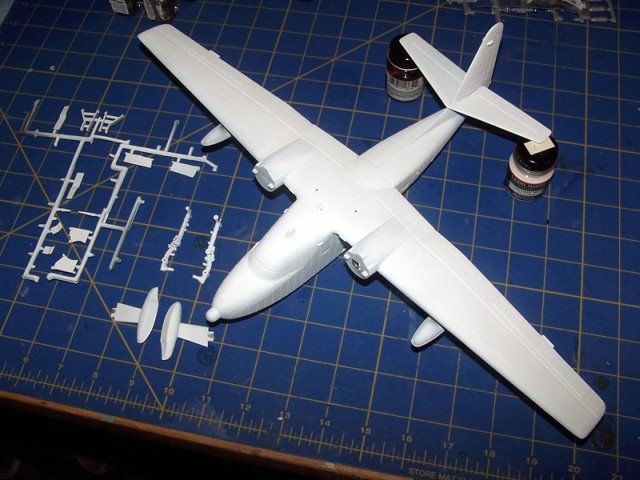
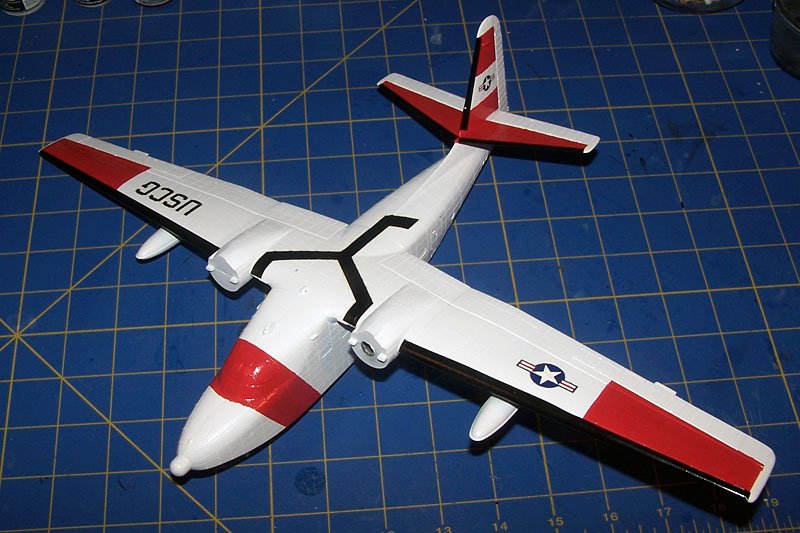
I used gloss
white from a rattle can, and Model Master's Italian Red, though it is not as
orange as it should be. I painted over the windows as there really is not much
to the interior.
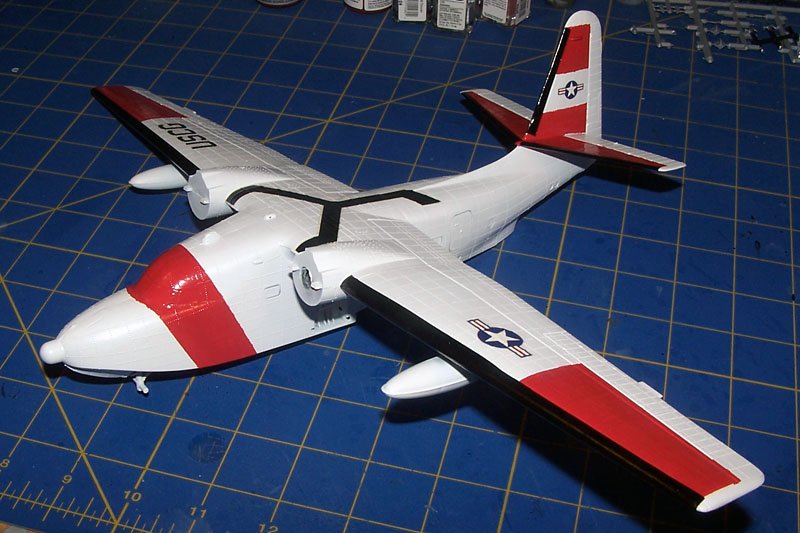
The toughest part
was masking over the large rivets and trying to get a good seal. I had to do a
few touch ups as some of the red bled underneath.
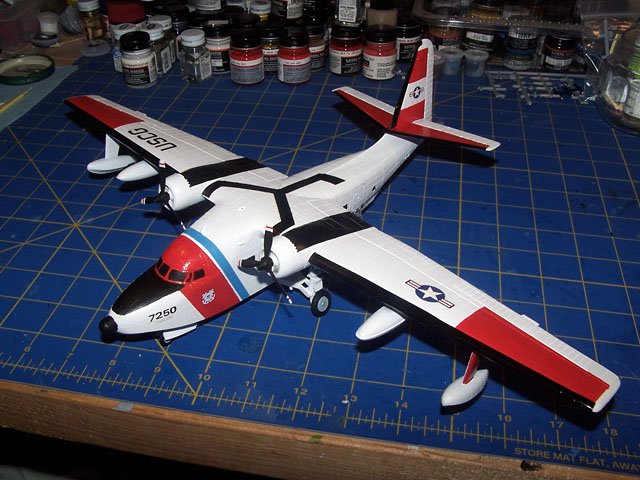
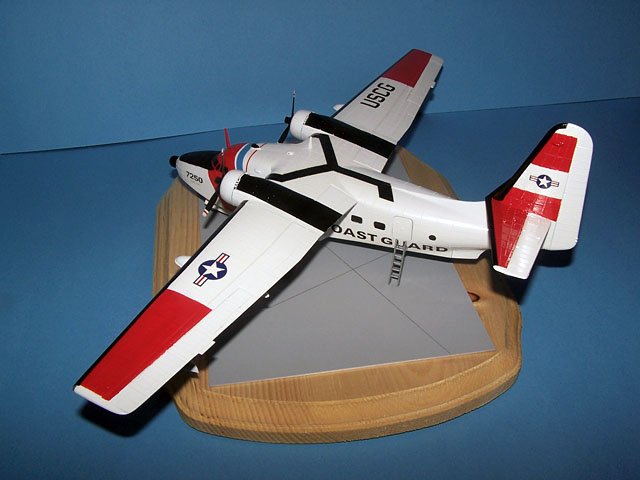
I messed up on the
main gear struts. I used 5-minute epoxy to ensure a good bond, and made the
struts straight up and down without attaching the v-shaped support to the
fuselage. The struts are supposed to bow in a bit, and the v-shape piece would
not fully reach the fuselage now. I superglued it as far as it would go, but it
was still 1/4 inch shy. That'll teach me to read the instructions next time.
I used Microscale sheet 72-109
for the markings, and the black walkway marking on the top fuselage came from
the Monogram sheet from Bob. The first Microscale sheet I had disintegrated even
though I applied Future over it to seal it, and RotorheadTX came though with an
extra section.
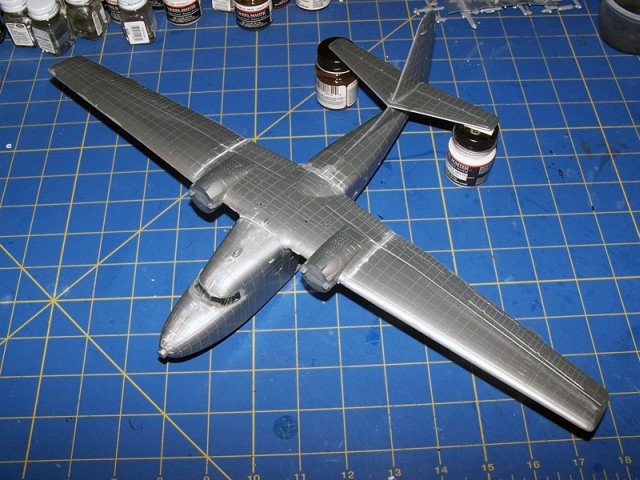
In the image below, you can see
the hole I made in the engine to insert the dowel to support the model when
using the rattle can.
Click on
images below to see larger images
The black anti-ice sections are
Microscale black decal trim - I found this a much easier method than trying to
mask and paint it.
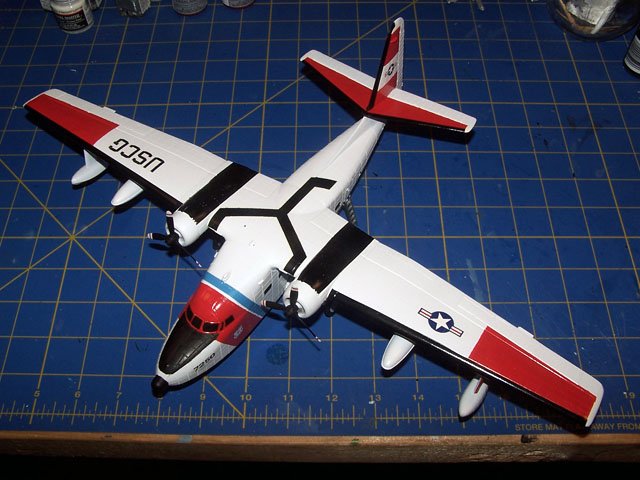
I also used Microscale blue trim
decal for the angled stripe on the forward fuselage - and was quite pleased at
how it conformed.
I made a simple base with a
wooden plaque, and painted a section of .040 styrene sheet, and drew a few lines
on it with a pencil and ruler. I attached it with 5-minute epoxy.
Thanks for looking,
Ken
|