|
The
Gripen was to have it's first flight in the month of December 1988 and was to
enter operational service with the airforce of Sweden in 1997. The
program was to substitute the Viggen and
Draken with the Gripen. The
aerial JAS 39A to be the version mono place of the Gripen.
Also available was the JAS 39B double seater version for the operational training
with the same avionics suite and armament of the varying JAS
39A, with the exception of the gun.
The
JAS
39C
was to be the single seater Lottery 3 version and the standard version for export,
delivered for the first time to the airforce of Sweden in the month of
September 2002.
The
JAS
39C
have display of the color cockpit, system of edge for generation oxygen (OBOGS),
and ability of refeuling in flight.
Finally,
the JAS 39D should be added as the single seater version .
Click on
images below to see larger images
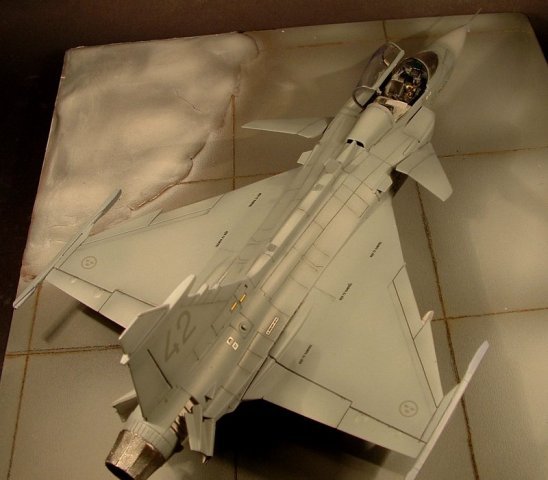
The
Swedish Air Force ordered 204 Gripens (including 28 two seaters) destined to two operational squadrons, with continuous deliveries up to
2007.
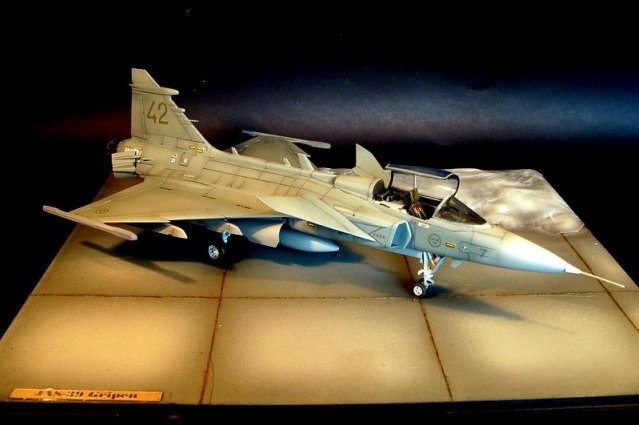
The
Kit
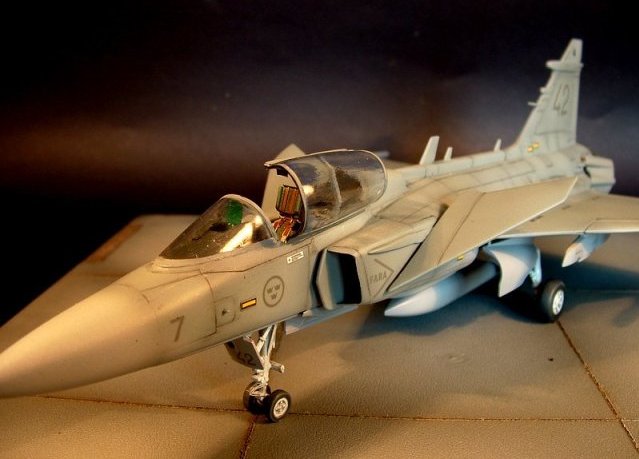
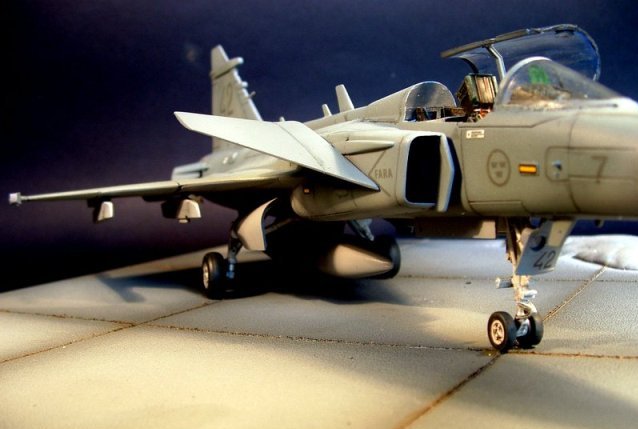
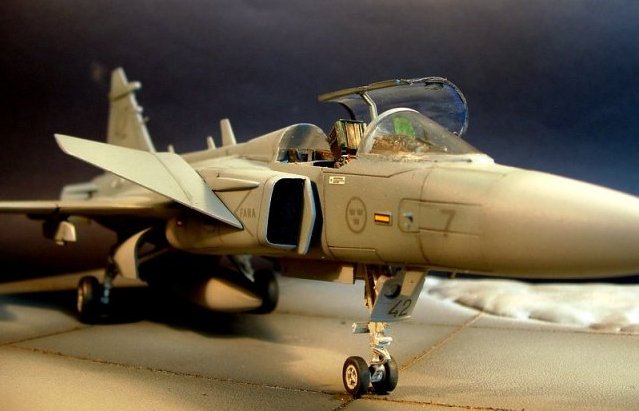
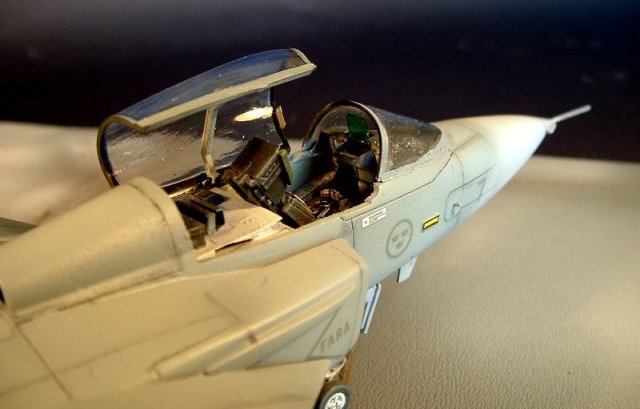
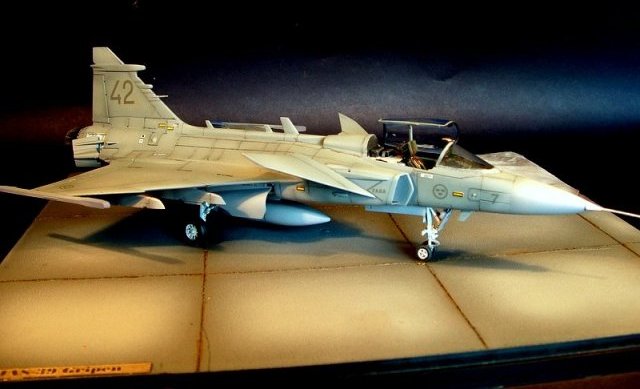
This
kit features deep coarse panel lines and shortcomings in the cockpit.
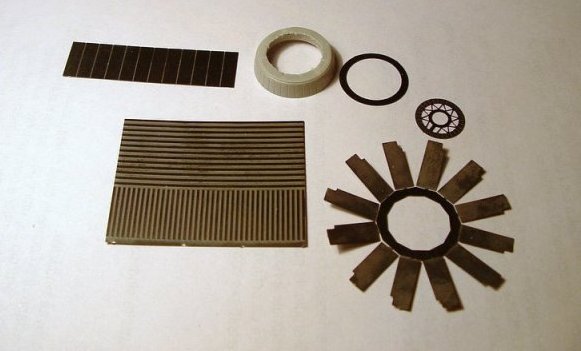
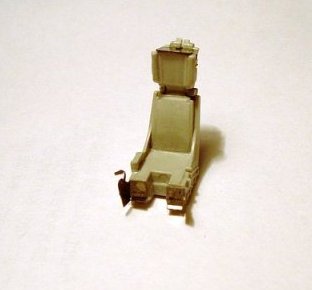
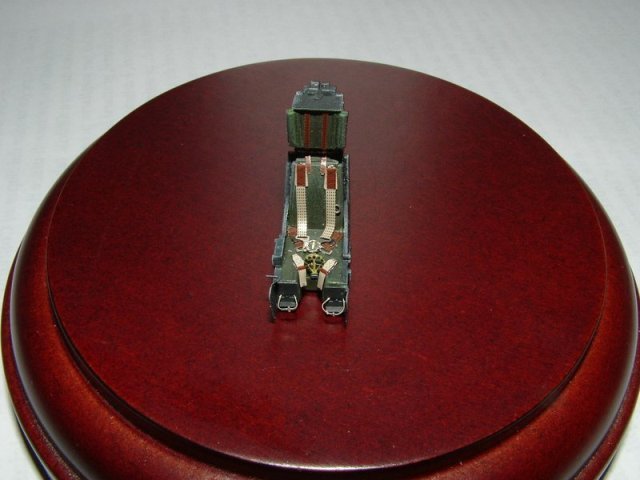
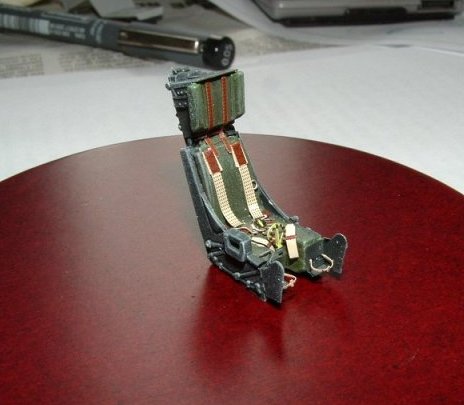
Sadly when I purchased this kit there were no resin cockpit sets available, do I
used some eduard Photo etch to help detail the cockpit.
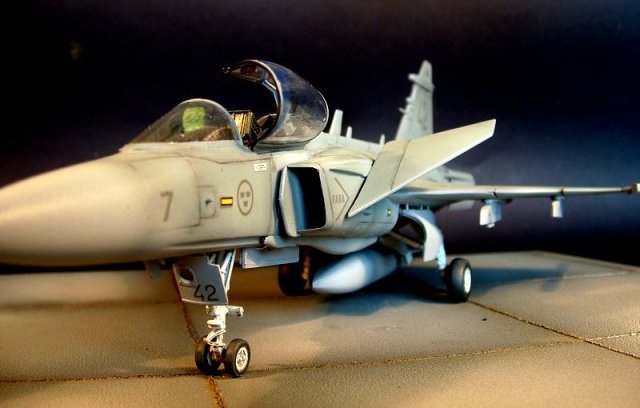
The
construction went well except for the wing root joint that needed plenty of test
fitting and filling. The painting was done entirely with Lifecolor
paints. First I cleaned the model with a large brush soaked with spirits
before I began the primering. Usually I use Tamiya primers but this time I
used grey spray from Cittadel.
I
then did some pre-shadings and pre-lightening of certain panels.
I
spent aday painting many fine coats of paint with each coat containing
more and more thinners. I also strongly recommend using the lifecolor
thinners to avoid clogging up your airbrush every 2 minutes. All this will
result in you still being able to see the pre-shading after the final coat of
paint. I lightened the center of the panels with paint lightened with
white paint. I then followed that p with tamiya gloss coat in preparation
for the decals.
A
few days later I applied the decals with the help of Gunze decal softener.
Finally
I did a
light wash of the panellines with oil paints and various trails of glazed transparency
from Vallejo.
Fausto
Click on
images below to see larger images
|